Stitch by the Numbers: The Practical Math Guide Every Embroiderer Actually Needs
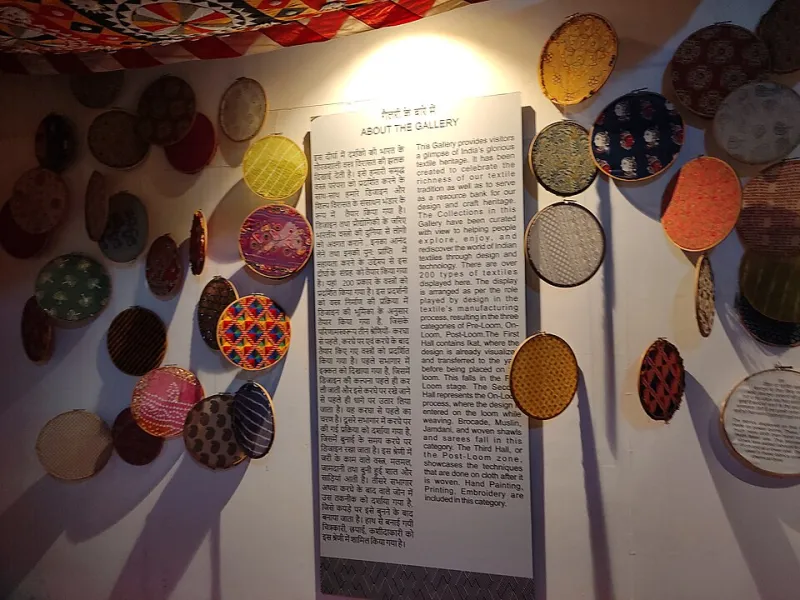
Photo: Soulful sunshine, CC BY-SA 4.0, via Wikimedia Commons
Let's be honest — most of us didn't pick up a needle and hoop because we loved math class. But somewhere between your third half-finished skein and a design that came out twice as big as you planned, you start to realize: a little arithmetic goes a long way in the embroidery studio.
The good news? You don't need a calculator app with a PhD to figure this stuff out. The formulas are simple, the logic is intuitive once you see it, and knowing them will save you real money, real time, and a whole lot of project-ruining frustration. Let's break it down.
Why Embroidery Math Actually Matters
Here's the thing nobody puts on the beginner supply list: miscalculating thread yardage is one of the most common (and most avoidable) reasons projects stall. You run out of a dye lot that's been discontinued. You overbuy and end up with seventeen skeins of dusty rose you'll never use. You scale a design from a 4-inch reference image onto a 10-inch jacket back and suddenly everything looks stretched and weird.
None of that has to happen. A few reliable formulas, practiced a couple of times, become second nature — the kind of thing you start doing in your head while you're browsing patterns online.
Calculating Thread Yardage: Stop Guessing, Start Measuring
The most common question in embroidery forums everywhere: How much thread do I actually need?
Here's a straightforward method that works for most hand embroidery projects.
Step 1: Estimate your stitched area. Break your design into rough shapes — rectangles, circles, irregular blobs. You don't need precision here, just a ballpark area in square inches.
Step 2: Use a coverage rate. A general rule of thumb is that one strand of six-strand cotton floss covers roughly 1 square inch of fabric per 1.5 yards of thread when using a basic satin stitch. For outline-heavy designs like stem stitch or backstitch, your coverage rate changes — lines use far less thread than filled areas, closer to 1 yard per 3–4 linear inches depending on your stitch length.
Step 3: Factor in your strand count. If you're stitching with two strands instead of one, double your estimate. Three strands? Triple it. Simple multiplication, big impact.
Step 4: Add a buffer. Always buy 15–20% more than your estimate. Thread is cheap; running out mid-project is not. Dye lots vary between batches, and that subtle shade difference will absolutely show up in your finished piece.
For complex, multi-color projects, calculate each color separately. It takes an extra five minutes and it's absolutely worth it.
Hoop Sizing: Fitting Your Design Without the Guesswork
Choosing the right hoop size sounds obvious until you realize you've been doing it by vibe for years. Here's how to think about it more deliberately.
The golden rule: Your design should sit at least 1 inch from the inner edge of your hoop on all sides. This gives you working room and keeps the fabric tension even across the whole piece.
So if your finished design is 4 inches wide and 5 inches tall, you want a hoop with an inner diameter of at least 6–7 inches. A 7-inch or 8-inch hoop gives you comfortable working room without stretching your fabric into oblivion.
For irregularly shaped designs — think a sprawling floral wreath or a landscape scene — measure the widest point in both directions and use that as your baseline.
Pro tip: If you're working on wearables or already-sewn garments, your hoop size may be constrained by seams and structure. In those cases, work in sections and re-hoop carefully, using a pressing cloth to protect previous stitching.
Scaling Designs Without Distortion
This is where a lot of embroiderers hit a wall. You found a gorgeous pattern sized for a 5-inch hoop, but you want it on a 9-inch tote bag. Or the reverse — you want to shrink a large botanical print down for a pocket detail. How do you do it without everything going lopsided?
The proportion formula:
New size ÷ Original size × 100 = Scale percentage
So if your original design is 5 inches wide and you want it to be 8 inches wide: 8 ÷ 5 × 100 = 160%
Scale it up to 160% on your printer or in your design software, and both dimensions will resize proportionally. Height and width move together, so nothing stretches.
Going the other direction: 3 ÷ 5 × 100 = 60%
Scale to 60% and your design shrinks cleanly without warping.
What changes when you scale: Here's something people forget — when you scale a design, your stitch density needs to scale with it. A satin stitch that looks smooth and clean at 4 inches may look sparse and gappy at 8 inches if you don't adjust your stitch length. Bigger designs generally need longer individual stitches or more rows of coverage. Smaller designs need tighter, shorter stitches to maintain crispness.
If you're working from a printed pattern, always test your scaling on paper first before transferring to fabric. Print it out, hold it up to the garment or hoop, and check proportions visually. Your eyes are a surprisingly good calibration tool.
The Fabric-to-Hoop Ratio
One last number worth knowing: how much extra fabric do you need around your design for hooping?
The standard recommendation is at least 3 inches of extra fabric on all sides beyond your hoop's outer edge. So if you're using an 8-inch hoop, cut your fabric at least 14 inches square (8 + 3 + 3). This gives you enough to grip the hoop properly, maintain even tension, and not accidentally pull your design off-center.
For smaller embellishment work on pre-made garments where you can't cut the fabric, use a hoop with a slim outer ring and be extra careful about tension. Basting the fabric to a stabilizer can help maintain evenness when you don't have the luxury of extra material.
Making the Math Feel Natural
None of this requires a math degree — it just requires doing it a few times until it becomes habit. Keep a small notebook (or a note on your phone) with your go-to formulas. After two or three projects where you've run the numbers, you'll start estimating more accurately just from experience.
The crafters who consistently produce clean, professional results aren't the ones with the fanciest tools — they're the ones who planned ahead. And planning ahead, in embroidery, looks a whole lot like a few quick calculations before you ever thread your needle.
So next time you're about to wing it on thread quantity or guess at a hoop size, give the numbers a chance. Turns out math was useful all along — it just needed better context than anything you got in school.