Tiny Space, Big Stitches: How to Build an Embroidery Studio That Actually Works
Photo: Volo817, CC BY-SA 4.0, via Wikimedia Commons
Let's be honest: most of us aren't stitching in a Pinterest-perfect craft room with twelve feet of countertop and a view of the garden. We're working at a kitchen table, in a bedroom corner, or in that weird little nook between the closet and the wall. And somehow, the work still gets done.
But there's a difference between getting by and actually thriving in your workspace. The right setup — even in 200 square feet — can cut down on fatigue, protect your materials, and make you genuinely excited to sit down and stitch. Here's how to build that space without blowing your budget or needing a contractor.
Start With the Light (Seriously, This Is Everything)
If you only fix one thing about your current setup, make it the lighting. Bad light is the silent killer of embroidery quality. You're making micro-decisions about thread placement, color matching, and stitch tension constantly — and dim or yellow-toned lighting makes all of that harder than it needs to be.
The gold standard is a daylight-spectrum LED lamp, something in the 5000–6500K range. Brands like TaoTronics and BenQ make solid options in the $40–$80 range that clamp right onto a desk or shelf. If you can position your workspace near a north-facing window, even better — you'll get consistent natural light without direct sun glare washing out your colors.
For overhead lighting, swap out any warm-toned bulbs in your work area for daylight LEDs. It's a $10 fix that makes a surprising difference, especially when you're color-matching thread to fabric.
The Ergonomics Nobody Talks About
Embroidery is a seated, forward-leaning activity. That's a recipe for neck strain, shoulder tightness, and wrist fatigue if your setup isn't dialed in. You don't need a fancy ergonomic chair (though if you're stitching more than a couple hours a day, it's worth considering). What you do need is a work surface at the right height.
Your elbows should be roughly level with your work surface when you're seated. If your table is too high, you'll hunch. Too low, and you'll crane. An adjustable-height desk is ideal, but a simple fix is raising your chair with a cushion or lowering it if you're using a dining chair with adjustable legs.
A lap stand or floor stand for your hoop is also a game-changer if you haven't tried one. It frees up both hands, which speeds up your stitching and reduces repetitive strain significantly. Look for brands like Lowery or Elbesee — they're popular in the US maker community and hold up well over time.
Storage That Works With You, Not Against You
The biggest space-waster in most embroidery setups isn't thread or fabric — it's disorganization. When you spend five minutes hunting for a specific skein of DMC floss before every session, that time adds up fast and kills your momentum.
Here's a system that works well even in tight spaces:
Thread: Store floss on bobbins in a divided plastic box (the kind made for fishing tackle works perfectly and costs around $8 at Walmart). Organize by color family — warm tones together, cool tones together — so you can grab the right range quickly. Label the outside of the box.
Fabric and stabilizers: Flat storage is your friend here. A shallow under-bed rolling drawer or a wide, shallow bin on a shelf keeps fabric from getting crumpled without taking up vertical space you need for other things.
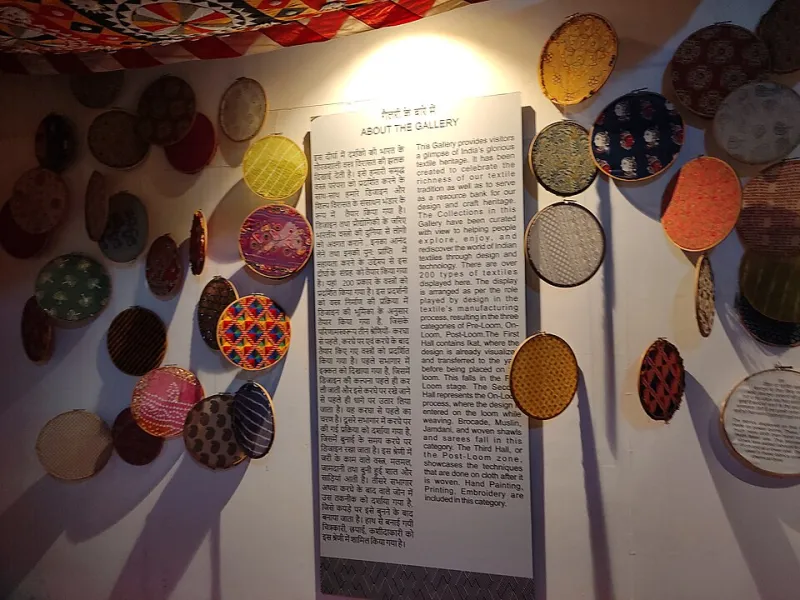
Hoops and frames: Hang them on the wall using simple Command hooks or a wooden dowel rod. This keeps them visible, accessible, and off your work surface. A pegboard panel (around $20 at Home Depot) gives you maximum flexibility — you can reconfigure hooks as your collection grows.
Tools: A small ceramic mug or a repurposed tin holds scissors, needles, and marking tools upright on your desk. Simple, cheap, effective.
Designing for Your Project Type
Not all embroidery is the same, and your space should reflect that. A maker doing fine goldwork on a 4-inch hoop has different needs than someone stretching 14-inch hoops for large floral pieces.
For small, detailed work: You want maximum light directly on your piece, a magnification option nearby (a clip-on lens or a lighted magnifier arm), and a very clear, clutter-free surface. Less is more here — visual noise is distracting when you're counting threads.
For large hoop or frame work: You need more horizontal real estate. If you're working on a floor stand, make sure there's enough clearance around you to move. A rolling cart next to your chair can hold your current project's materials without crowding your main surface.
For mixed media or design work: A second surface — even a small folding table — is worth it if you're regularly sketching patterns, cutting stabilizer, or ironing transfers. Keeping prep work separate from stitching work keeps both stations cleaner.
Small Space, Real-Life Examples
Take a cue from makers who've figured this out in genuinely small apartments. One Chicago-based embroiderer shared her setup on Instagram: a 60-inch IKEA LINNMON desk against a wall, a pegboard above it holding 40+ hoops and tools, and a rolling cart beside it for fabric and thread boxes. Total footprint? About 30 square feet. It works because everything has a designated spot and nothing lives on the desk surface except the current project.
Another maker in a studio apartment in Austin uses a Murphy bed setup — when the bed is up, she has a full wall of workspace. Her secret weapon is a magnetic knife strip (yes, the kitchen kind) mounted horizontally to hold her most-used scissors and snips. Cheap, clever, and it keeps sharp tools off the table when she's not using them.
Budget-Friendly Alternatives to the Dream Setup
You don't need to spend $2,000 to have a functional studio. Here's a rough breakdown of what actually matters and what you can DIY or find cheap:
- Lighting: $40–$80 for a quality daylight lamp. Worth every dollar.
- Desk: IKEA ALEX or LINNMON desks start around $80–$120 and are solid for craft work.
- Pegboard: $20–$30 at any hardware store, plus $10 in hooks.
- Thread storage: $8–$15 for tackle boxes at Walmart or Amazon.
- Hoop stand: $60–$150 depending on brand, but it genuinely changes how you stitch.
Total for a functional, organized, ergonomic setup: somewhere in the $200–$400 range. That's less than a lot of embroidery kits and way more impactful on your long-term practice.
The One Rule That Ties It All Together
Whatever your space looks like, build it around one principle: reduce friction. Every time you have to dig, search, rearrange, or squint, you're spending energy that could go into the work itself. A studio that works is one where you can sit down, find what you need in under 30 seconds, and get straight to stitching.
Your space doesn't have to be beautiful (though it can be). It just has to work for you — your projects, your body, your schedule. Start with the light, fix the ergonomics, get your storage sorted, and then adjust from there. Even 200 square feet is more than enough to build something you're genuinely proud of.